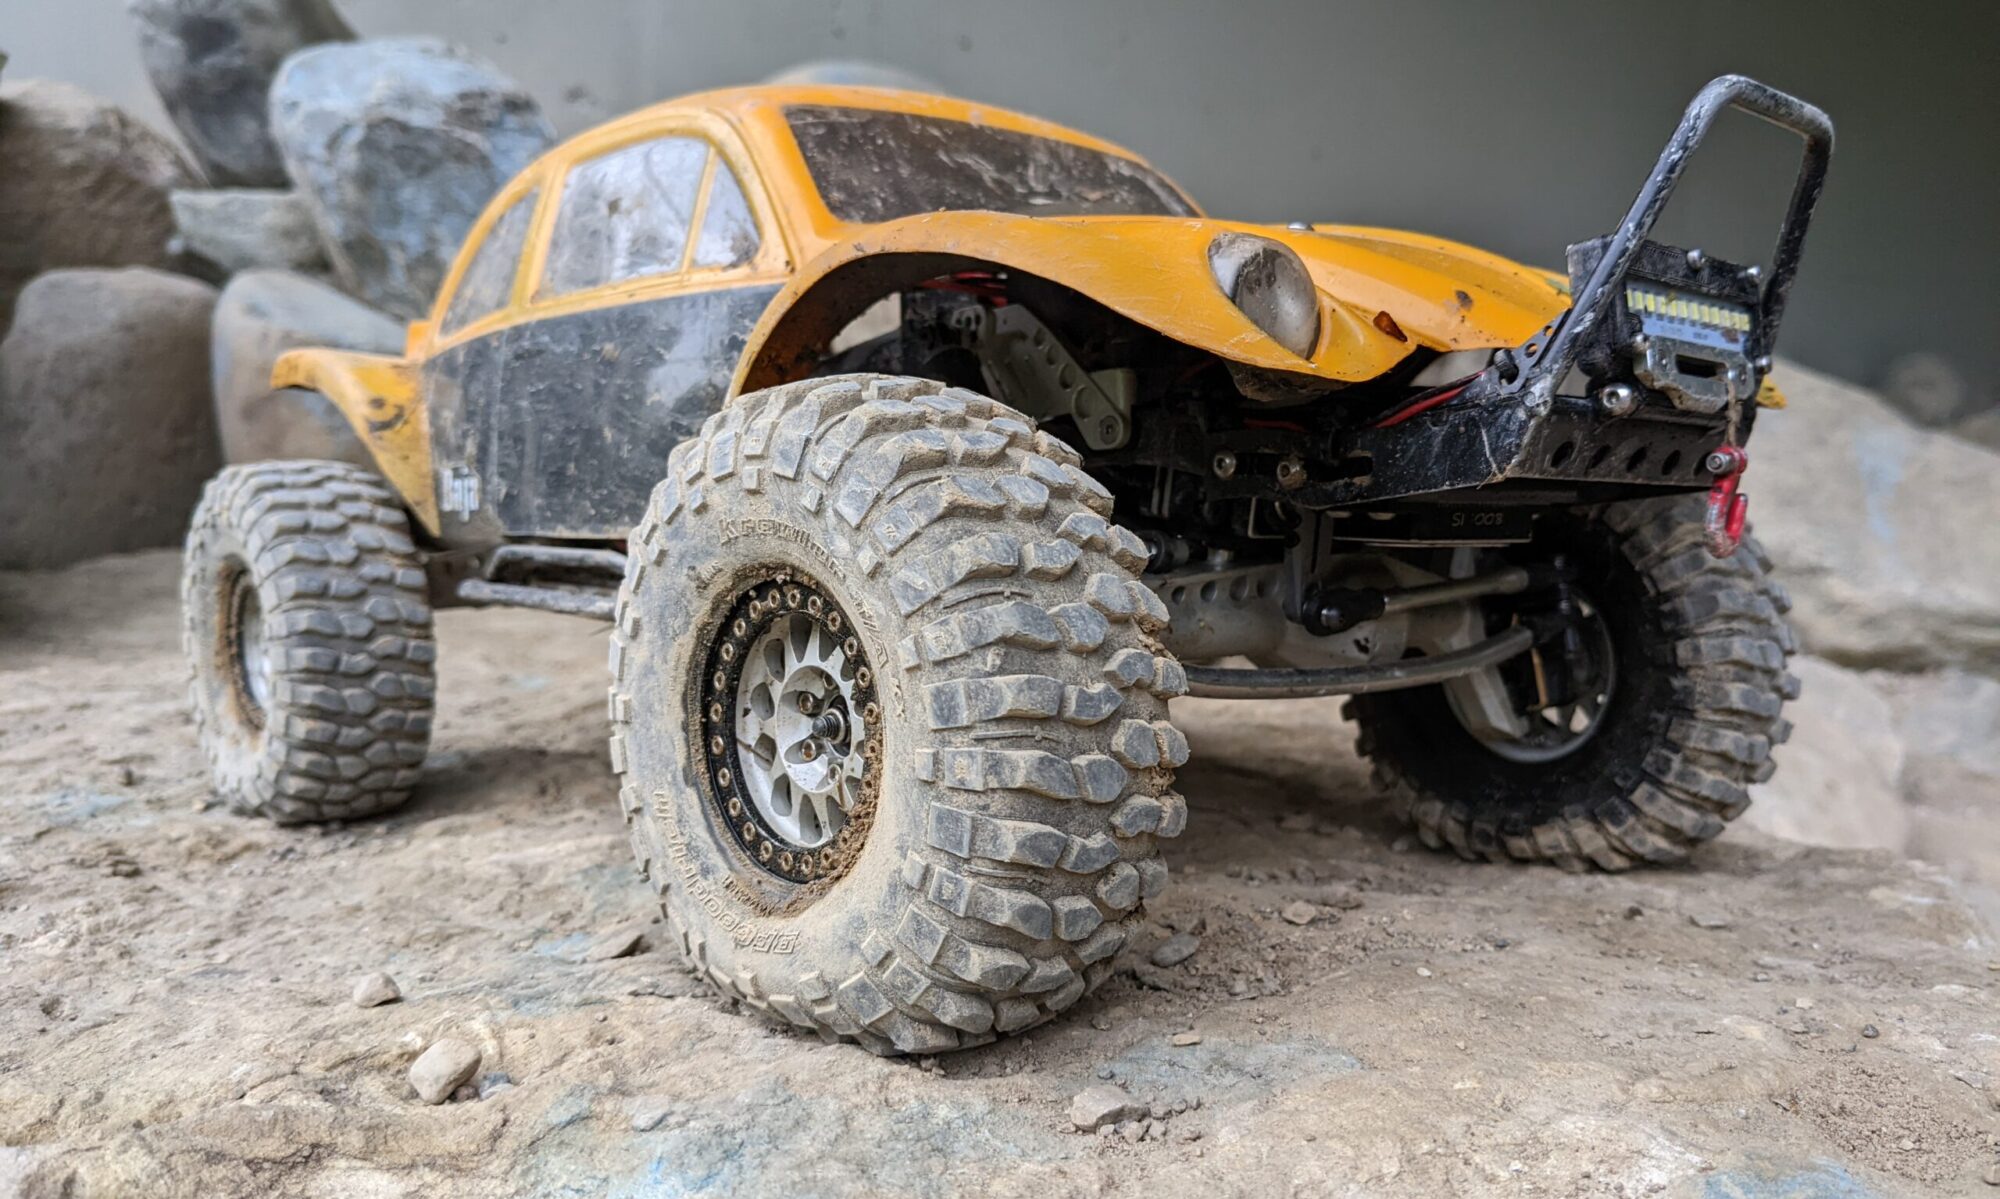
Isn’t that a handful? What exactly is a “Universal Robot Configurer” anyways?
This is a project that basically fell into my lap, when I started trying to improve my handheld failsafe trigger for my RoboMagellan robot. I started off with a tiny monochrome 0.91″ OLED LCD panel, 128 x 32 pixels, that could only draw using this tiny font.
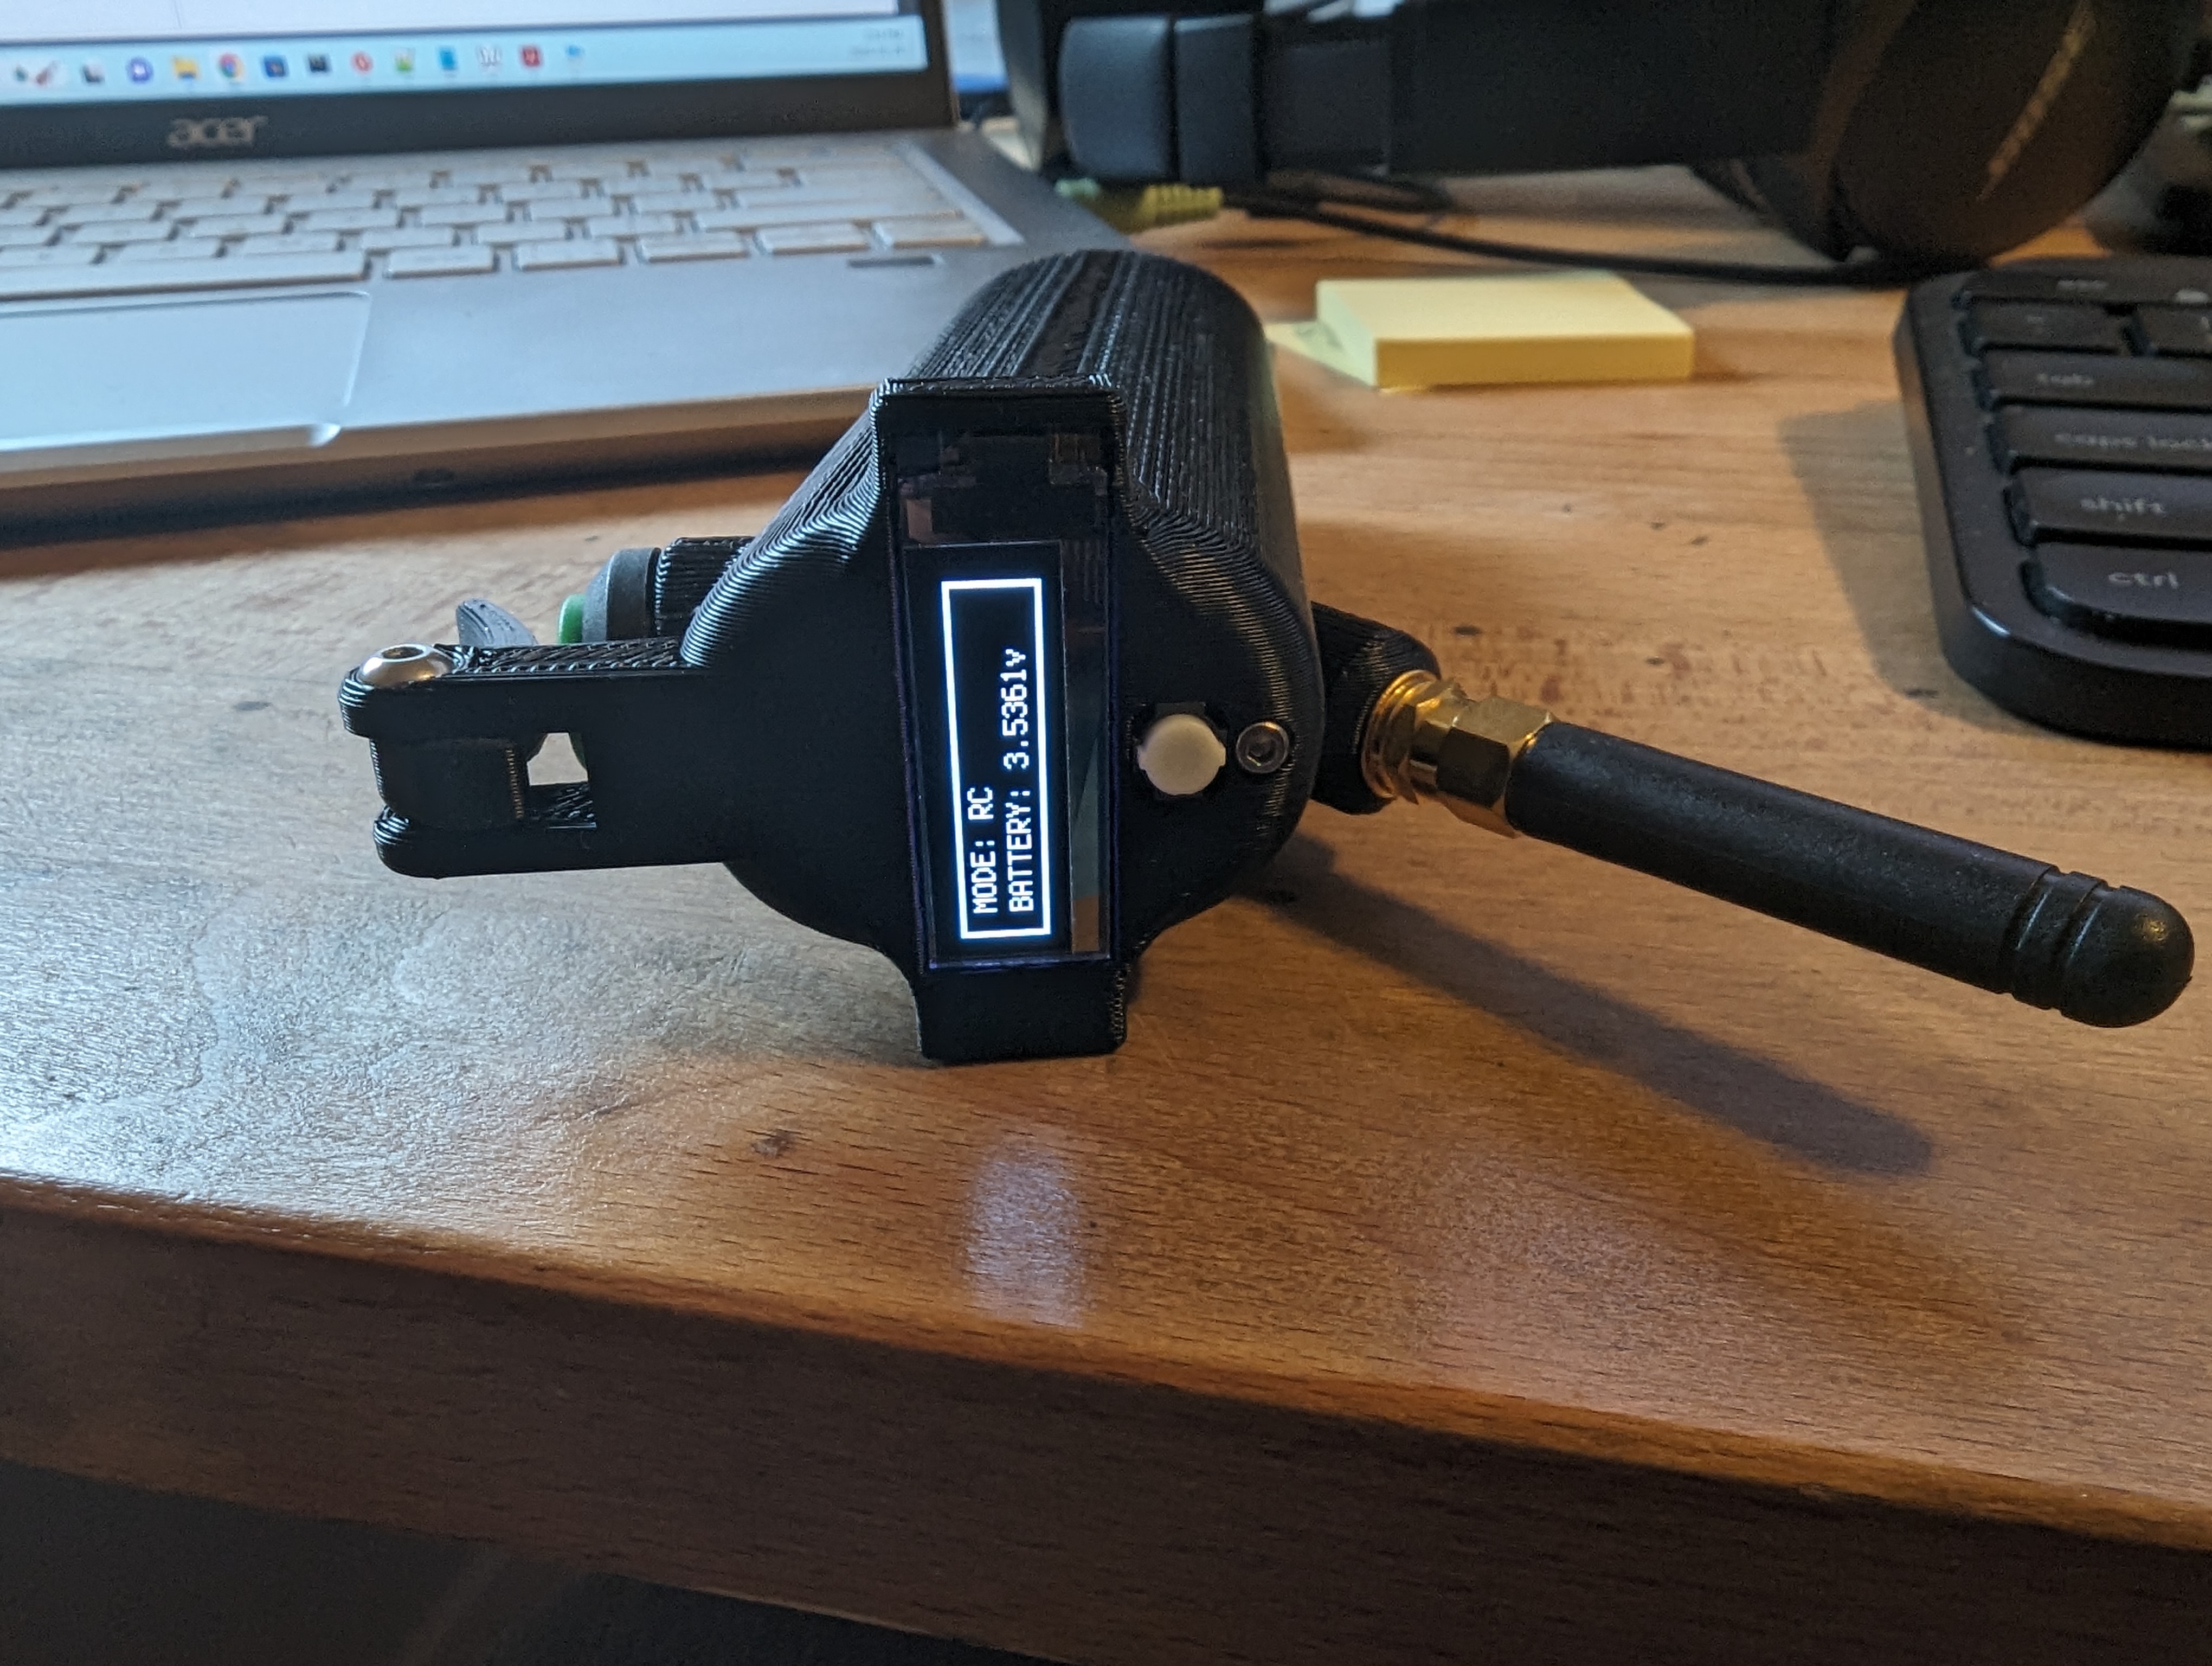
This worked well, and it gave me what I neeed, but I wanted a better screen on it. I redesigned the head so that it was removable, and put in a small LCD panel that I had picked up from Waveshare. This new screen is a 0.85″ display, but it is color, and 128 x 128 pixels.
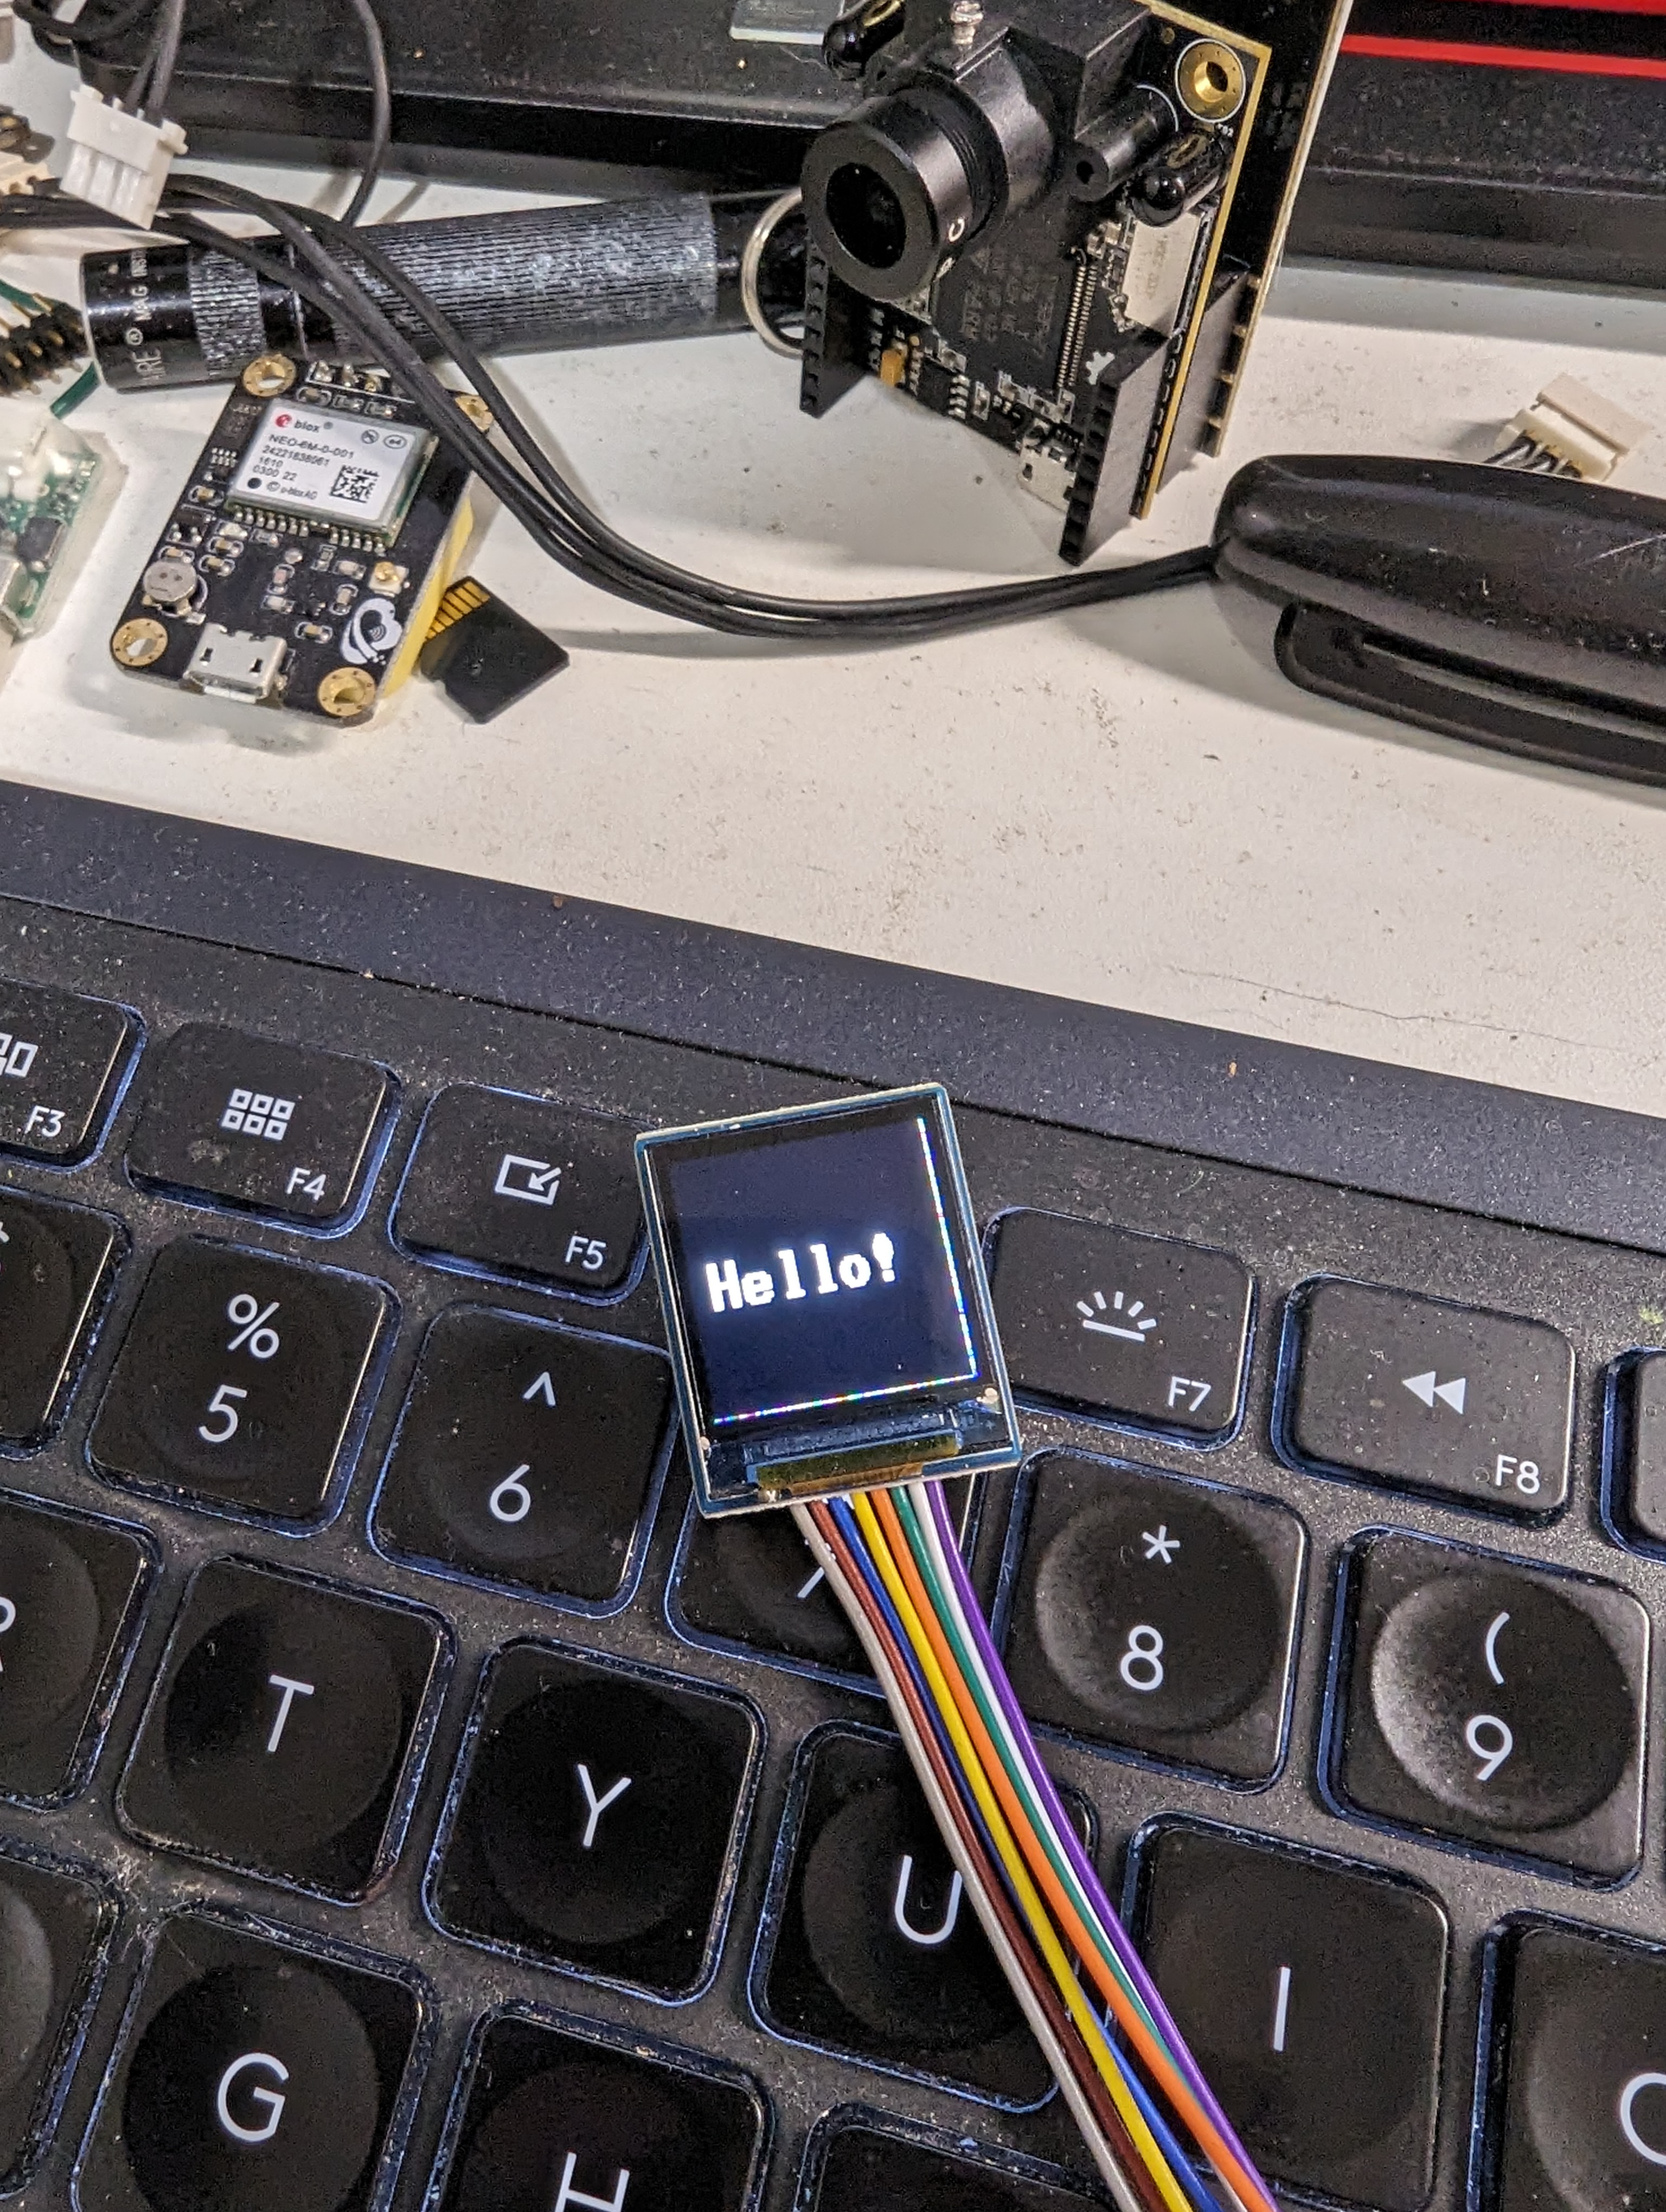
It had some driver issues, but it would still be nicer than the tiny little OLED screen, and it supported more fonts.
About this time, I was working on building a touch-enabled GUI for my 1.28″ round display that I had mounted on the Tabletop robot. It ended up being very versatile, so I redesigned the failsafe head again, this time putting on the round screen.
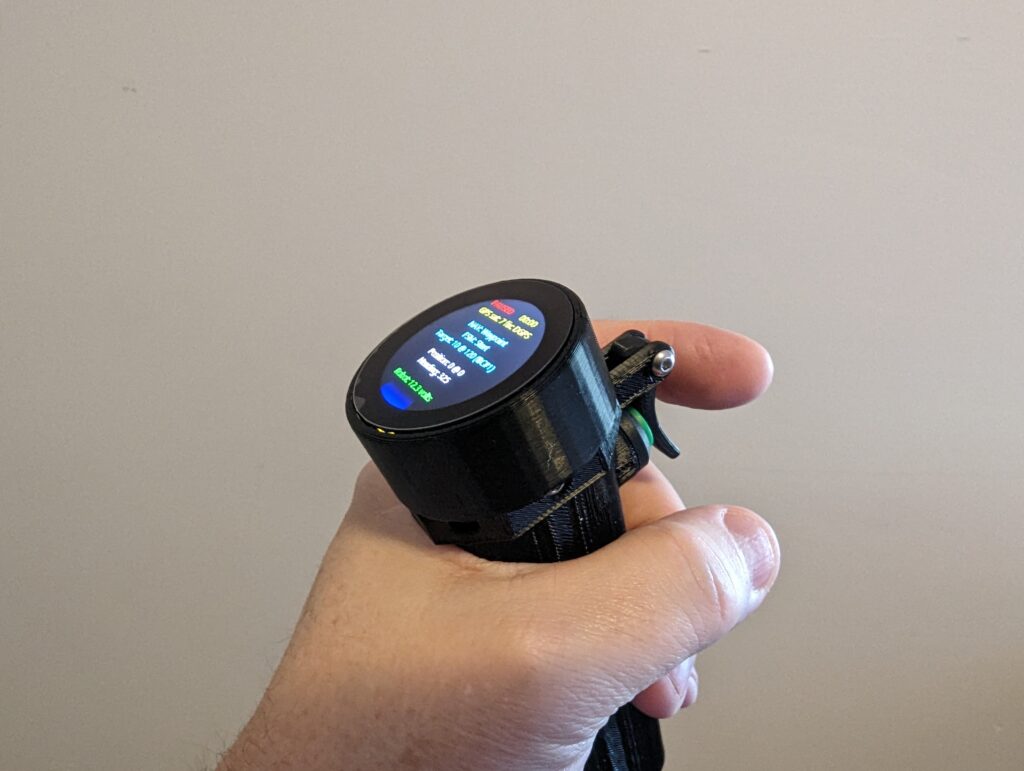
Now I felt like I was onto something. It was about this time I was introduced to ESPNow, which is a peer to peer radio link that ESP32 chips can do. I immediately got the idea that this could be used to talk to all my robots (assuming I put an ESP32 in each one), and it would allow me to configure them, launch missions, and so on. Waveshare started selling a 1.28″ round touch screen with a built-in ESP32-S3, so I ordered a couple of those, and decided to change the form factor of the failsafe to be more of a smart-watch like wearble.
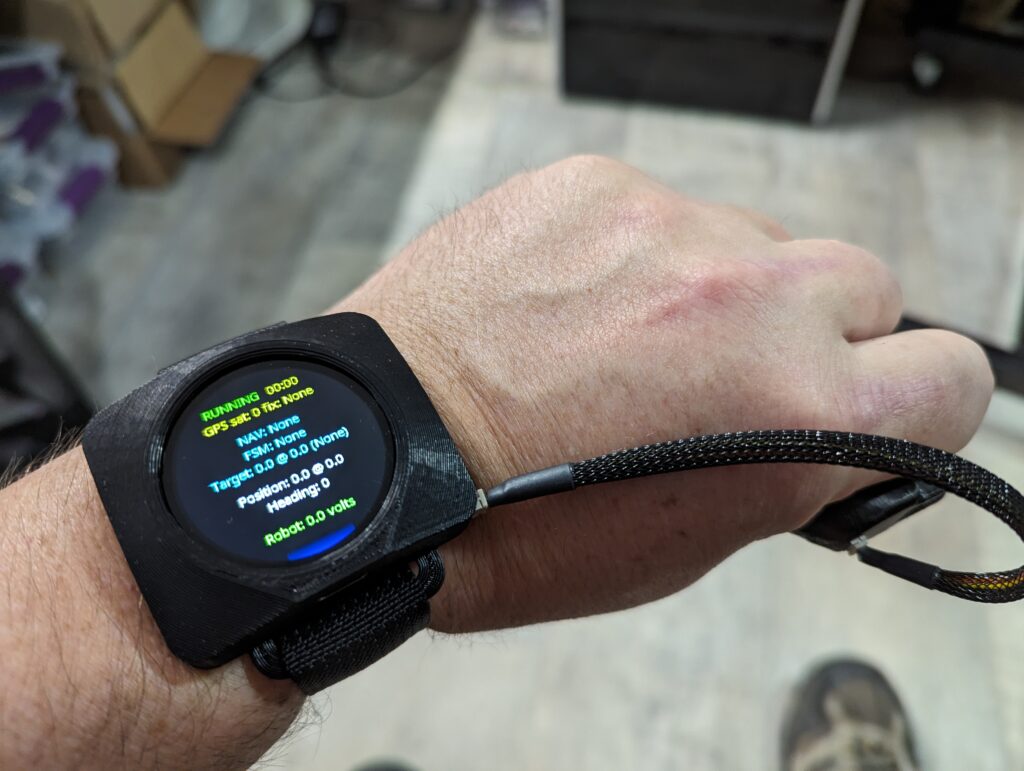
So now, here I am, with this neat little smart-watch like thing, that I can program in MicroPython, and it has a full touch interface. You can swipe left and right to switch screens, and swipe up to go back. I can disconnect the failsafe trigger if I don’t want it – it simply plugs in to a small 3-pin connector on the side of the case.
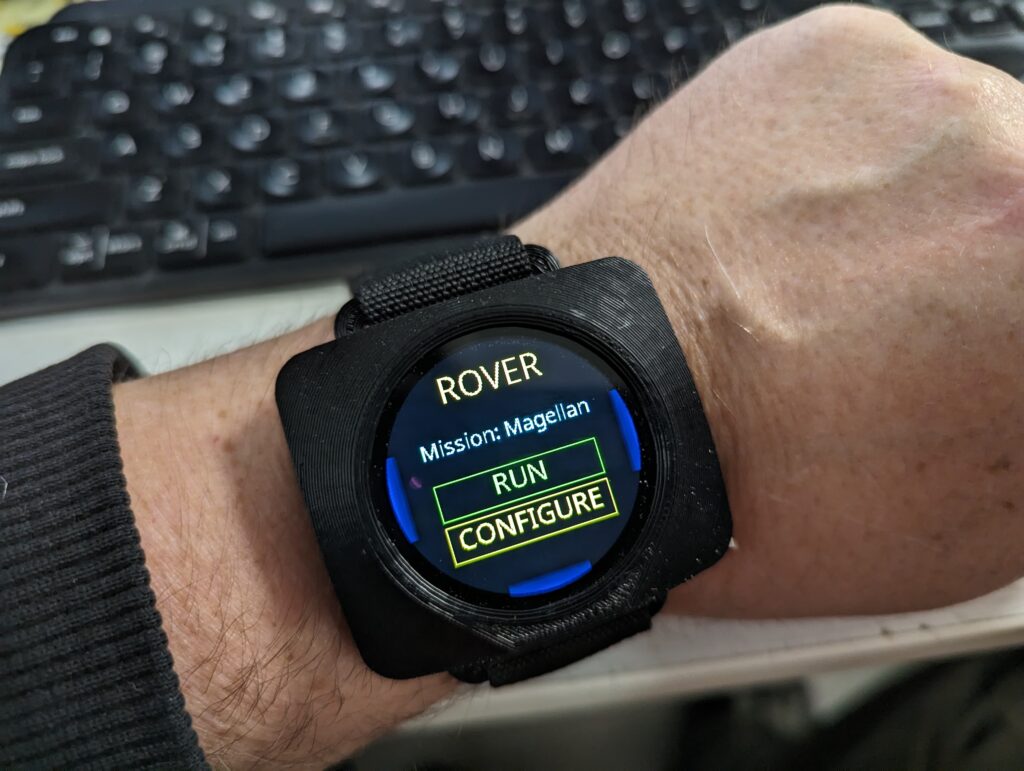
Its not really intended to be an actual smart watch – its a little on the bulky side for that, because I’ve got an enormous 1000mAh battery inside. But it will work with my robots, regardless of whether I am on my local Wifi network or away from home, in a sports field running a RoboMagellan mission.
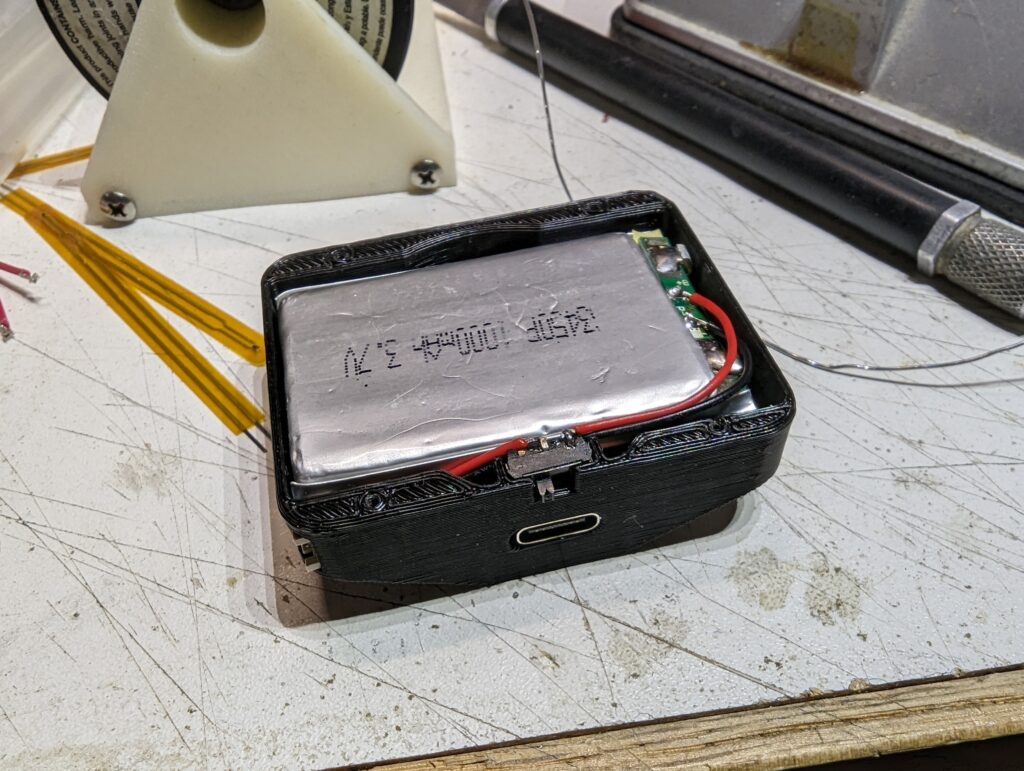
Here are a few pictures showing the insides – it is remarkably simple, just the screen/board combo, my 3-pin trigger connector, a battery with a slide power switch soldered in place, and the battery itself. And of course, a 3D printed case and a few M1.4 machine screws to hold the back in place. I use a piece of 1″ nylon webbing as the strap, with a cam buckle to hold the strap in place.
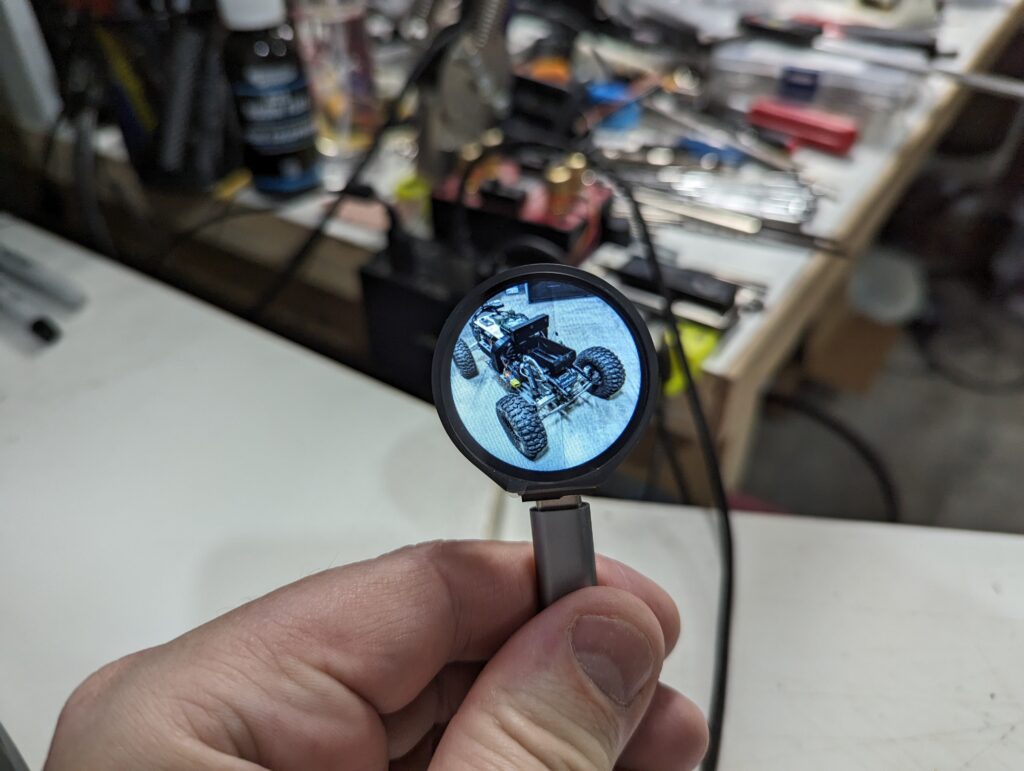
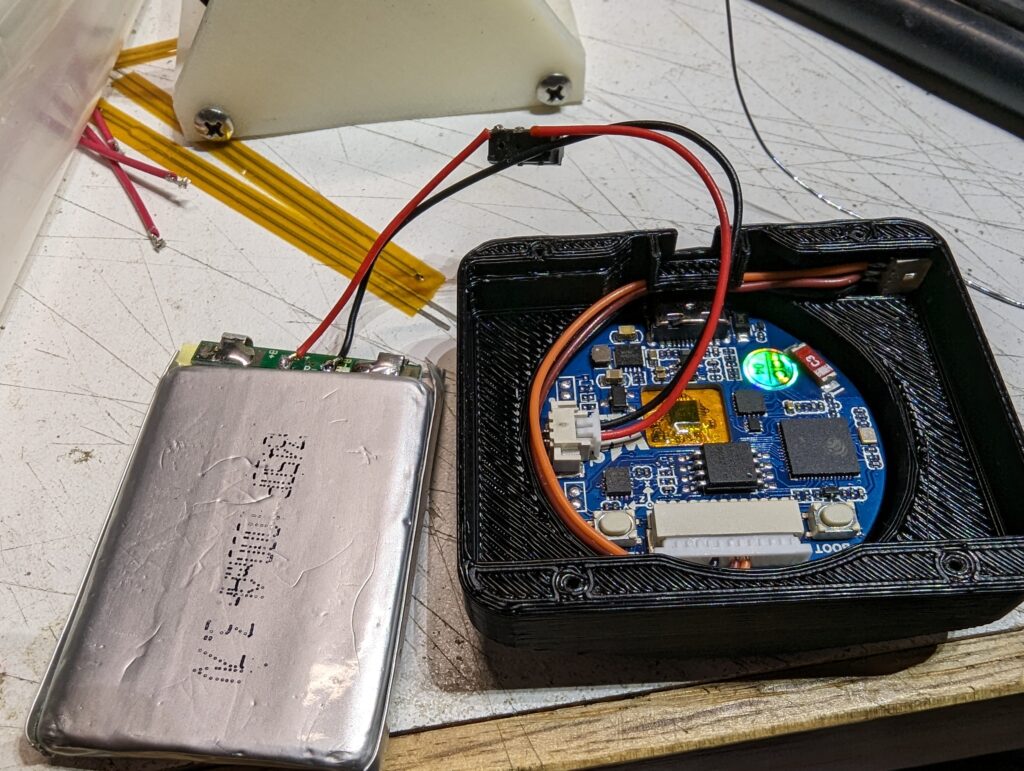
The USB-C connector on the board allows you to both charge the battery, and to use MicroPython tools like rshell to do development. I’m very happy with how this turned out, and I continue to work on the software side of things to try and make it work better, and flesh out everything it needs to do in order to be useful for my robots.
